
Baltimore Harbor
We visited Baltimore, Maryland last summer to watch the Yankees play the Orioles at Camden Yard. The harbor is a wonderful place to visit, with adorable shops, seafood restaurants, a fantastic aquarium, and gorgeous ships.
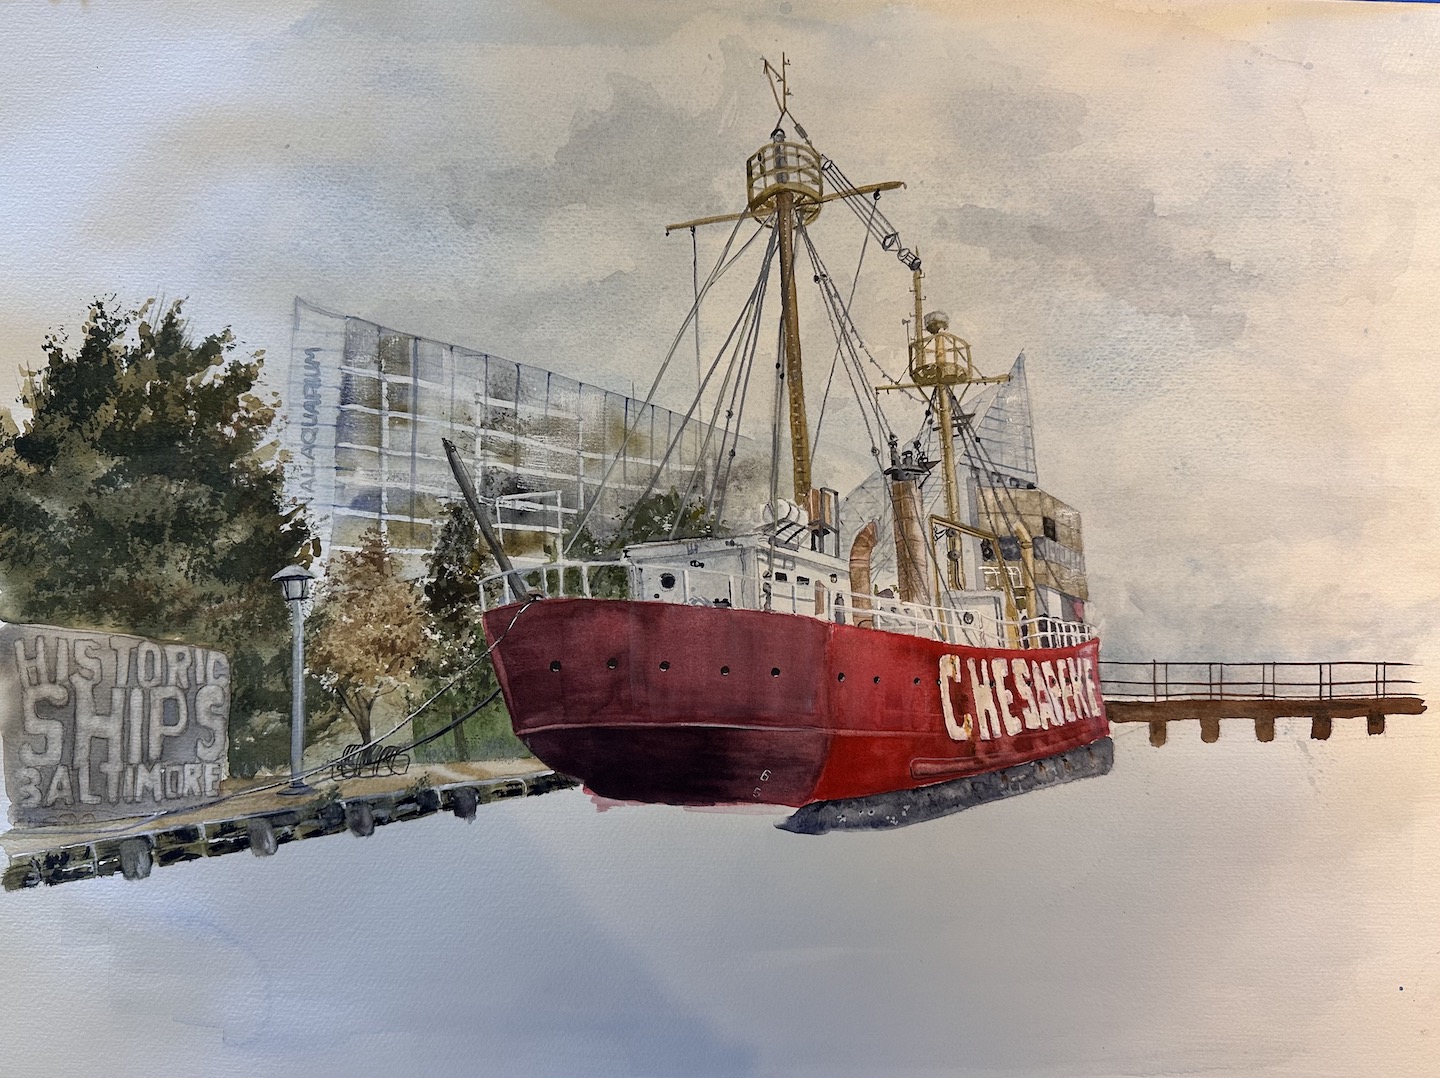
I love the majesty of the Chesapeake, with its beautiful bright red color, its rigging, and shear size. I debated including the aquarium in this piece, but the interesting shapes of it was a nice comparison to the form of the ship. I’ve subdued it a bit, and added some more trees to set it apart from the ship.
This is the largest piece I’ve ever painted and I found the perfect frame and mat for it once it was done.
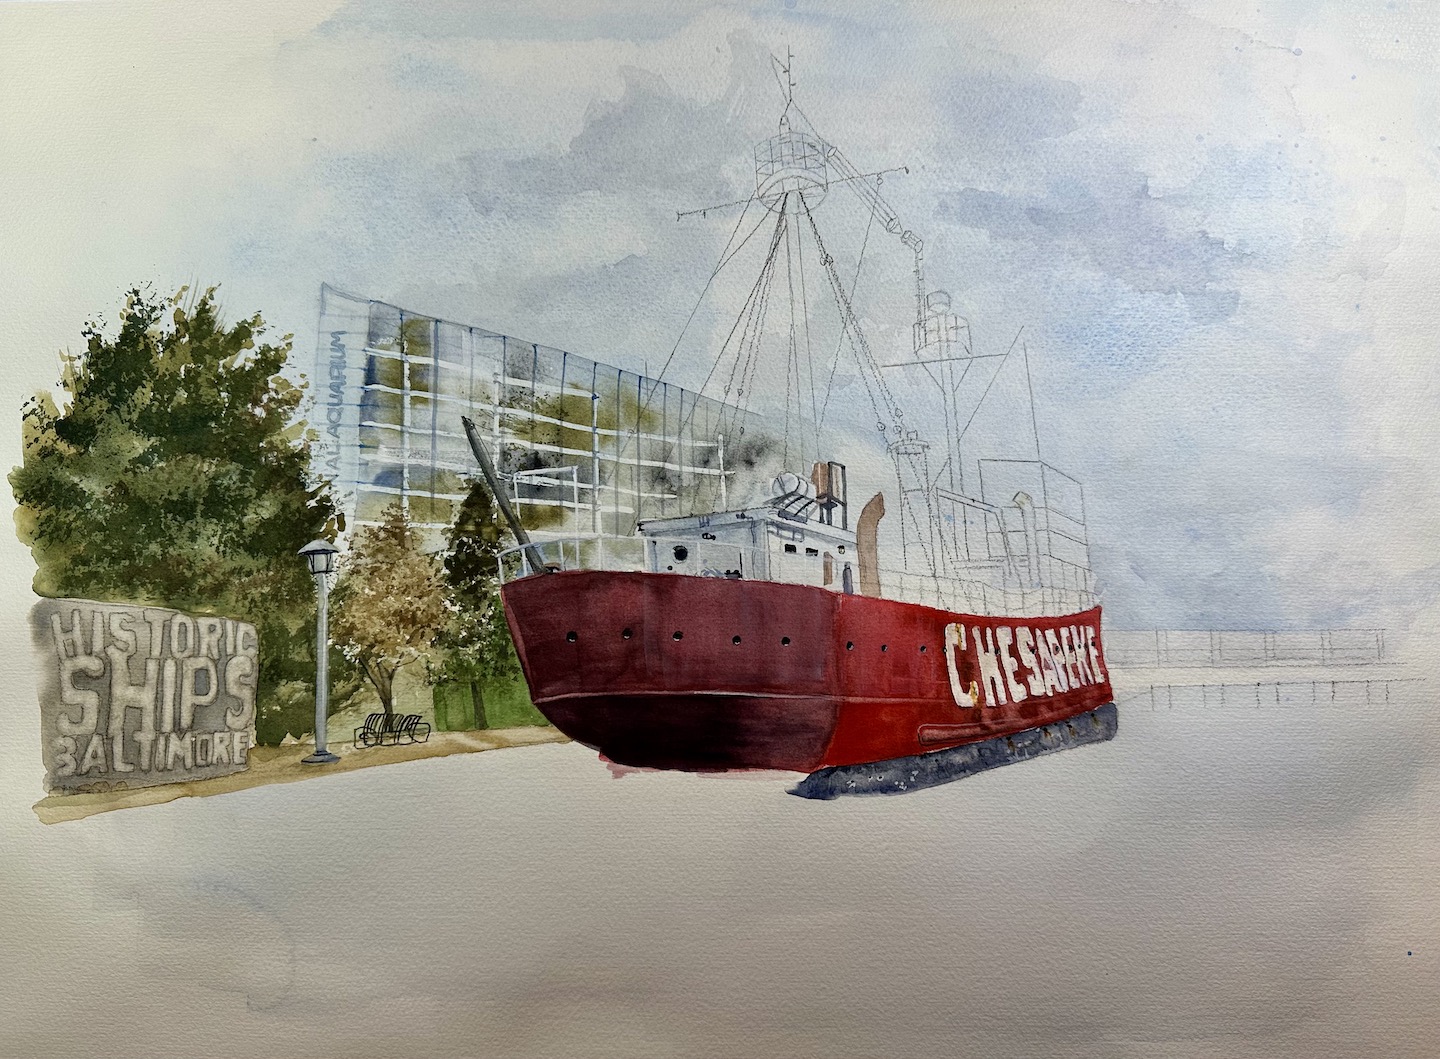
Starting Out
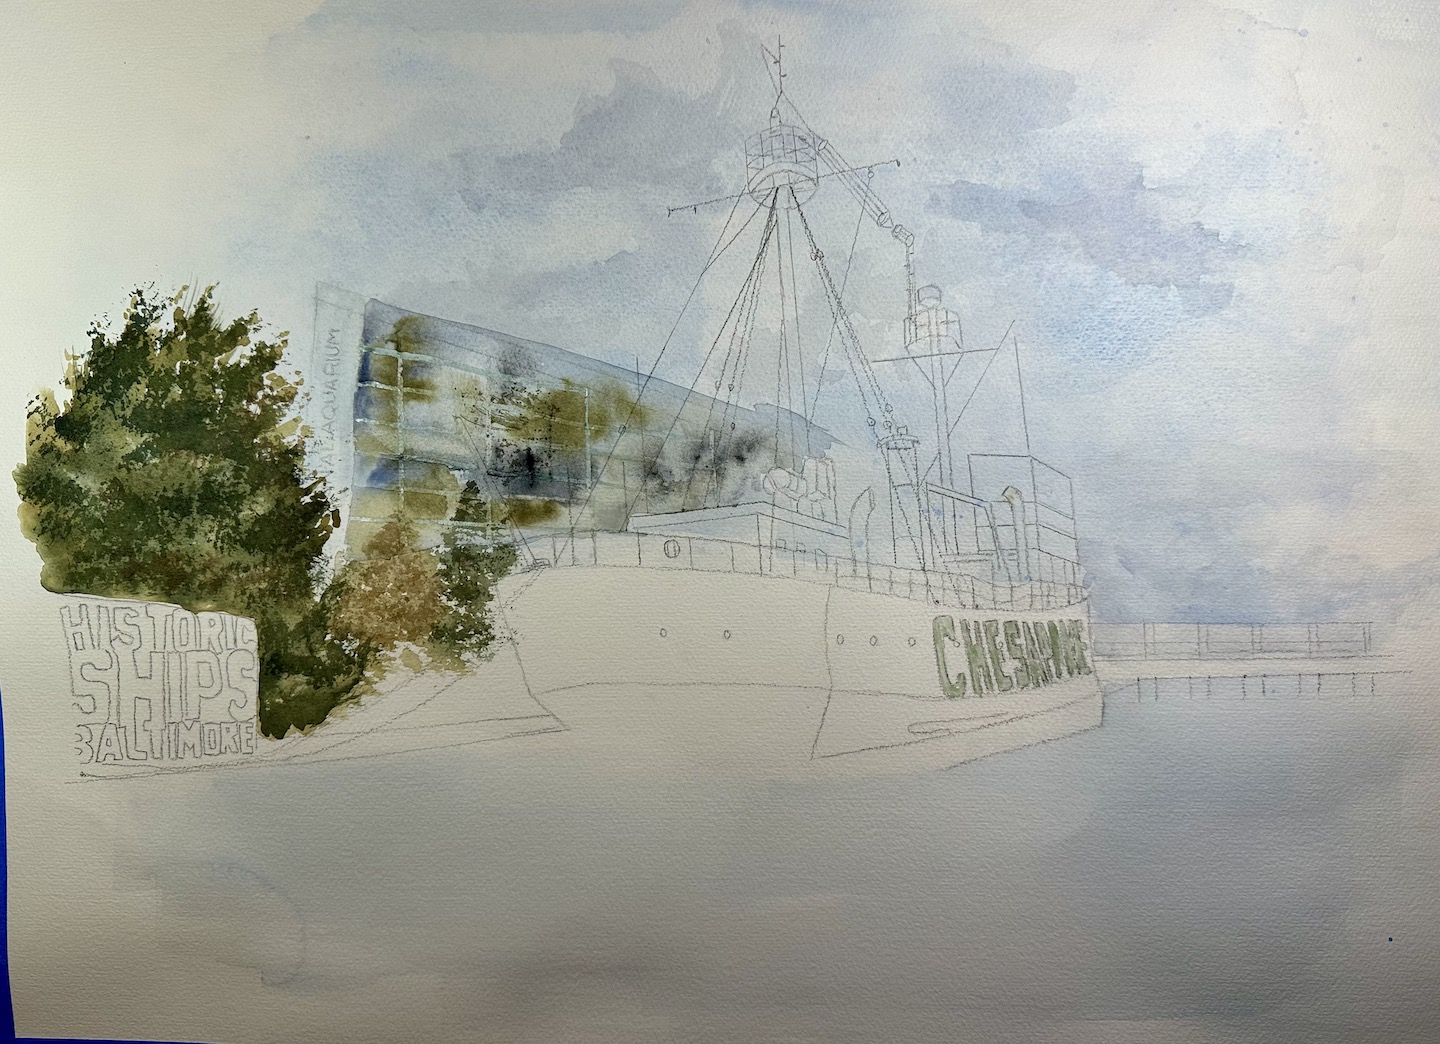
At first, the aquarium was much too dark, so I worked on toning it down a bunch. I wanted to finish that part before starting on the ship. Although I struggle with painting trees, I know I’m not loose enough with my paint, I was happy with how the big tree on the left came out. I masked the lettering on the ship so that I could keep it white and also put a nice red wash over the ship and not disturb the letters.
Really Red!
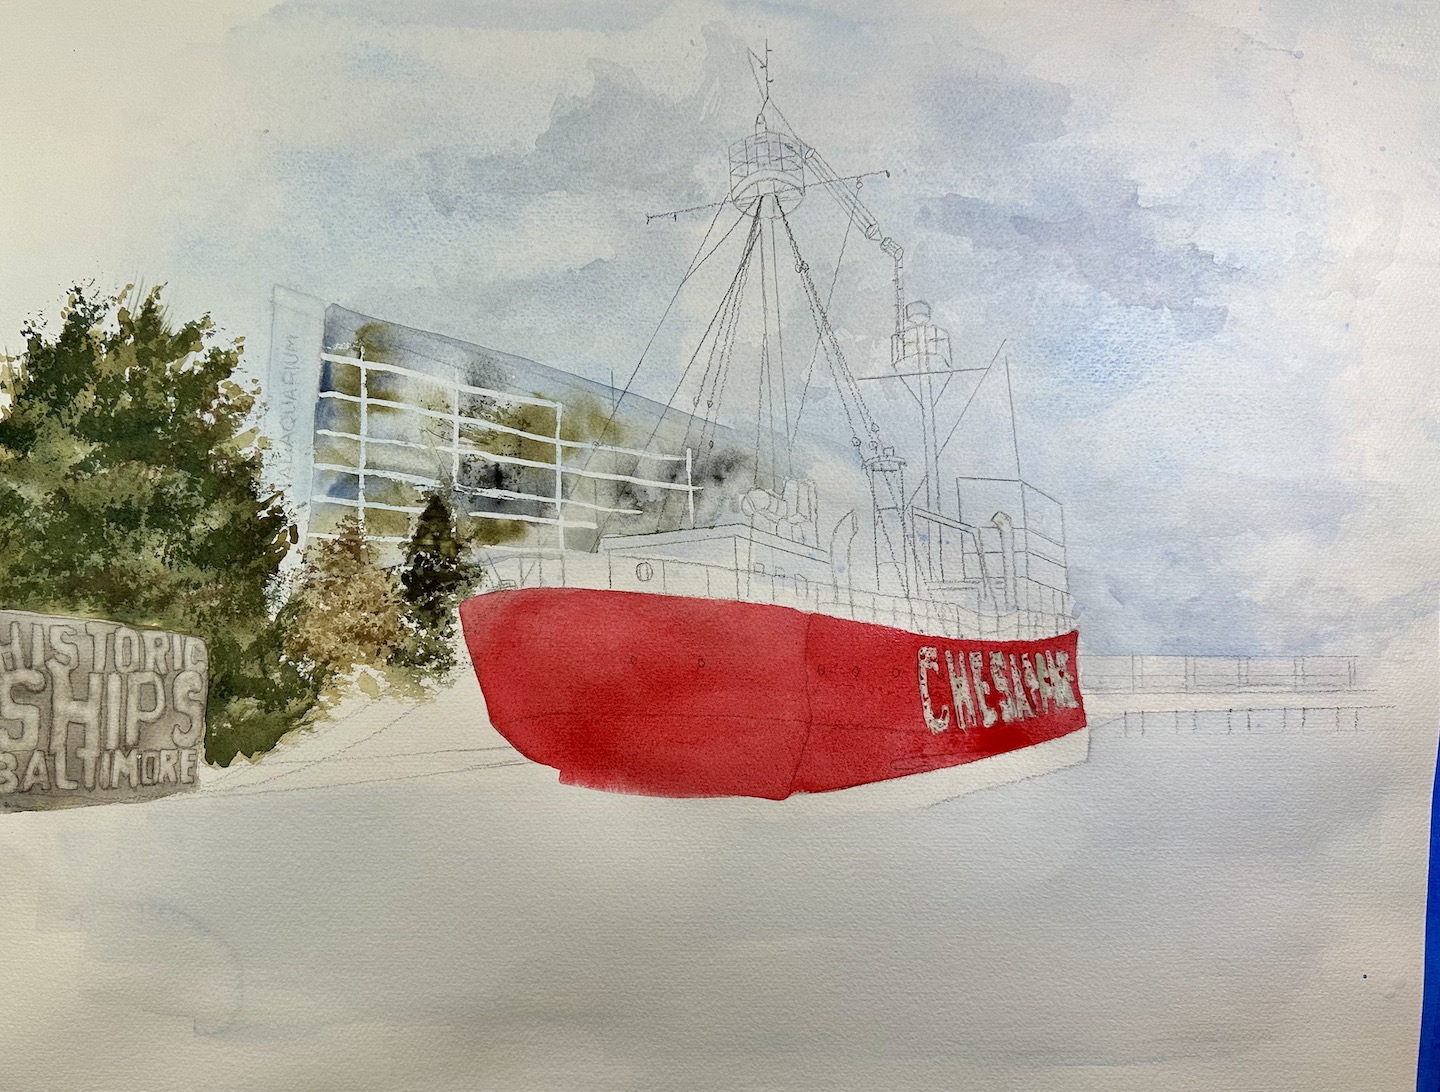
The undertones of the ship had to be really bright so that I could use many washes to get the colors and shadings I wanted.
Water
The water is the largest part of this piece, and I left it until last so that I could do it all at one time, using a lot of water and having the shades blend together. There were a lot of little components on the ship to work on.
Details on Ship
Working on the ship details was a lot of fun! I brought this painting with me to Hawaii to work on, along with all my watercolor equipment. Unfortunately, I forgot my liner brush, which was probably the most important one to have for the rigging. We found a little art store that sold watercolor supplies on the Big Island, and the liner brush I bought was one of the best brushes I ever had!
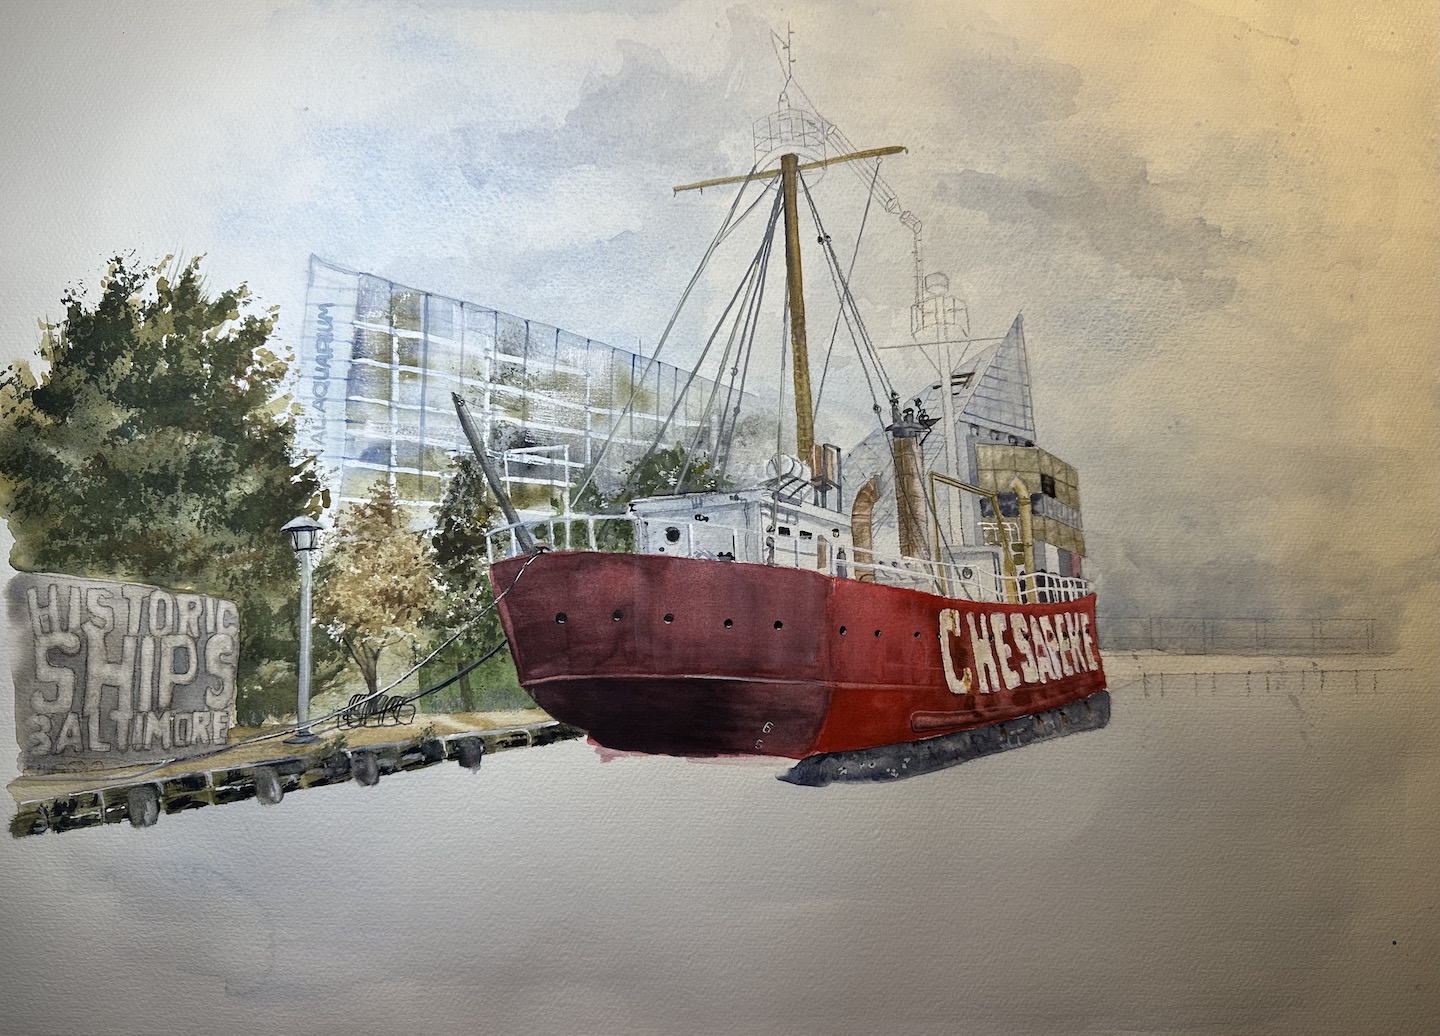
Wharf
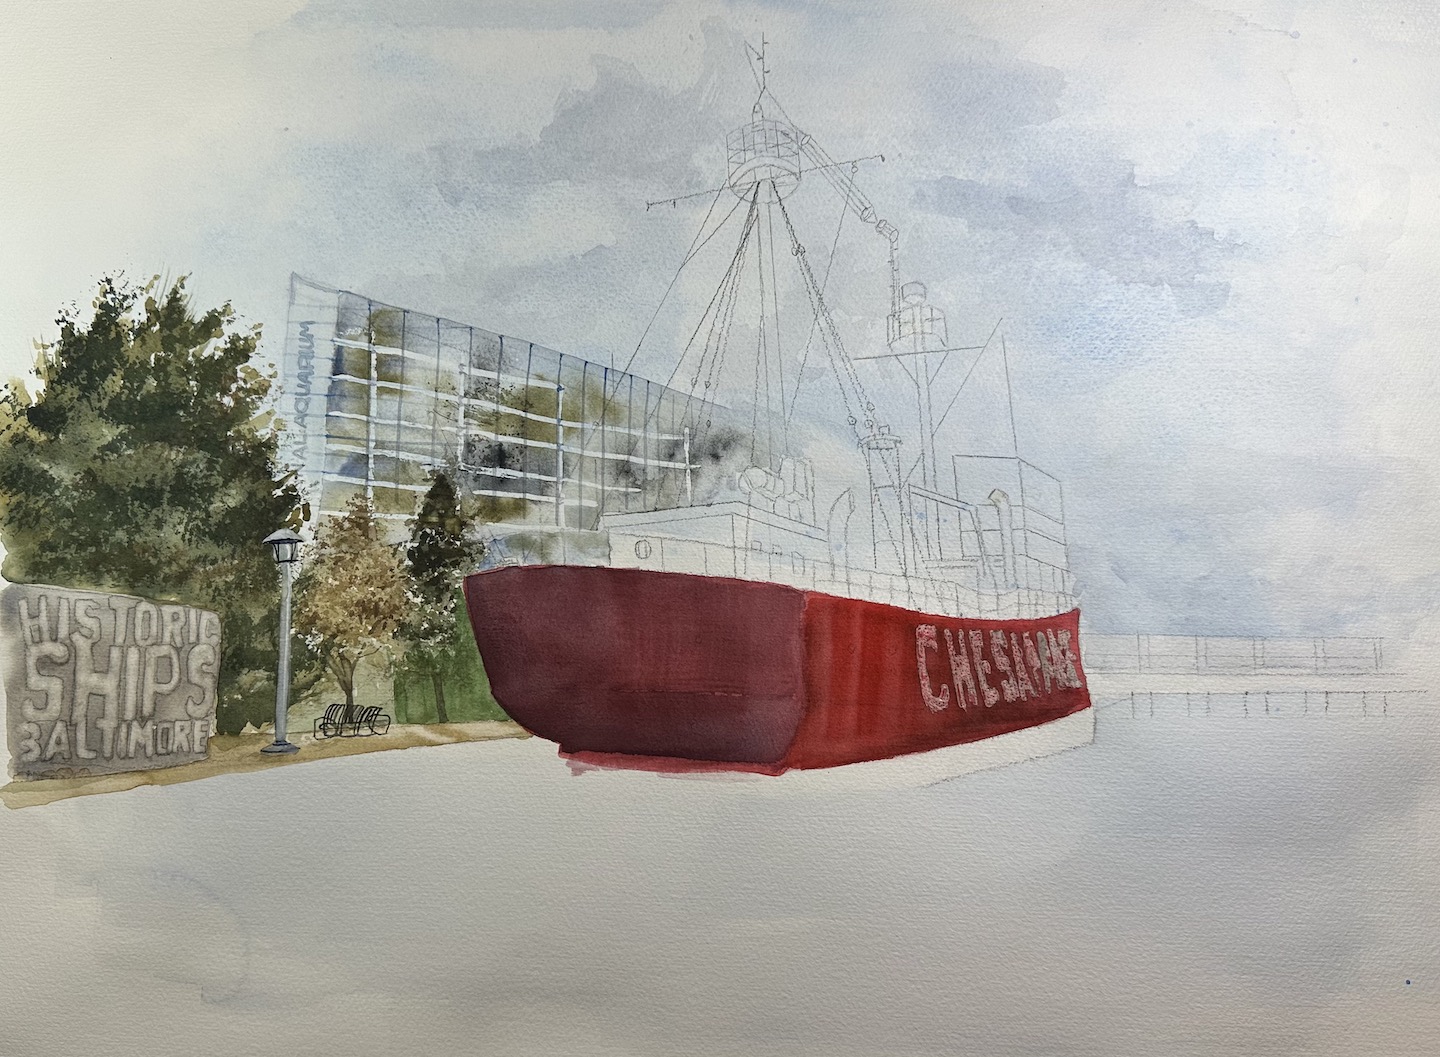
I added the lamp post over the tree, lifting out the colors behind it because I think it adds a nice touch. Also, the bench, which also is in the reference photo.
The wharf was really dark in the reference photo, but I lightened it up and left out some of the tiny details so that it blended better in the painting.
I finished painting the aquarium and the other details of the ship. I lightened the building a bunch at this end to send it back into the picture.
Ready for the Water
Everything else was done, just had to add the water!
I worked the water more than I wanted to, but I was eventually happy with how it turned out. That’s the thing with watercolor. Once you put down a wash, and another wash on top of that, if you try to use a brush to ‘fix’ anything, it is extremely noticable. You really only get that one chance.
To see the final piece, please see the “Gallery” page.
Thanks!